Configuring an Integration
This guide walks you through connecting and customizing integrations with third-party providers in Cloud ex Machina.
For an introduction to integrations and key concepts, see Integrations Overview.
1. Accessing the Integrations Page
- Navigate to your Cloud ex Machina tenant.
- Go to
https://<your_customer_id>.cloudexmachina.io/settings/integrations(or add/settings/integrationsto your tenant URL). - You'll see a list of available integrations.
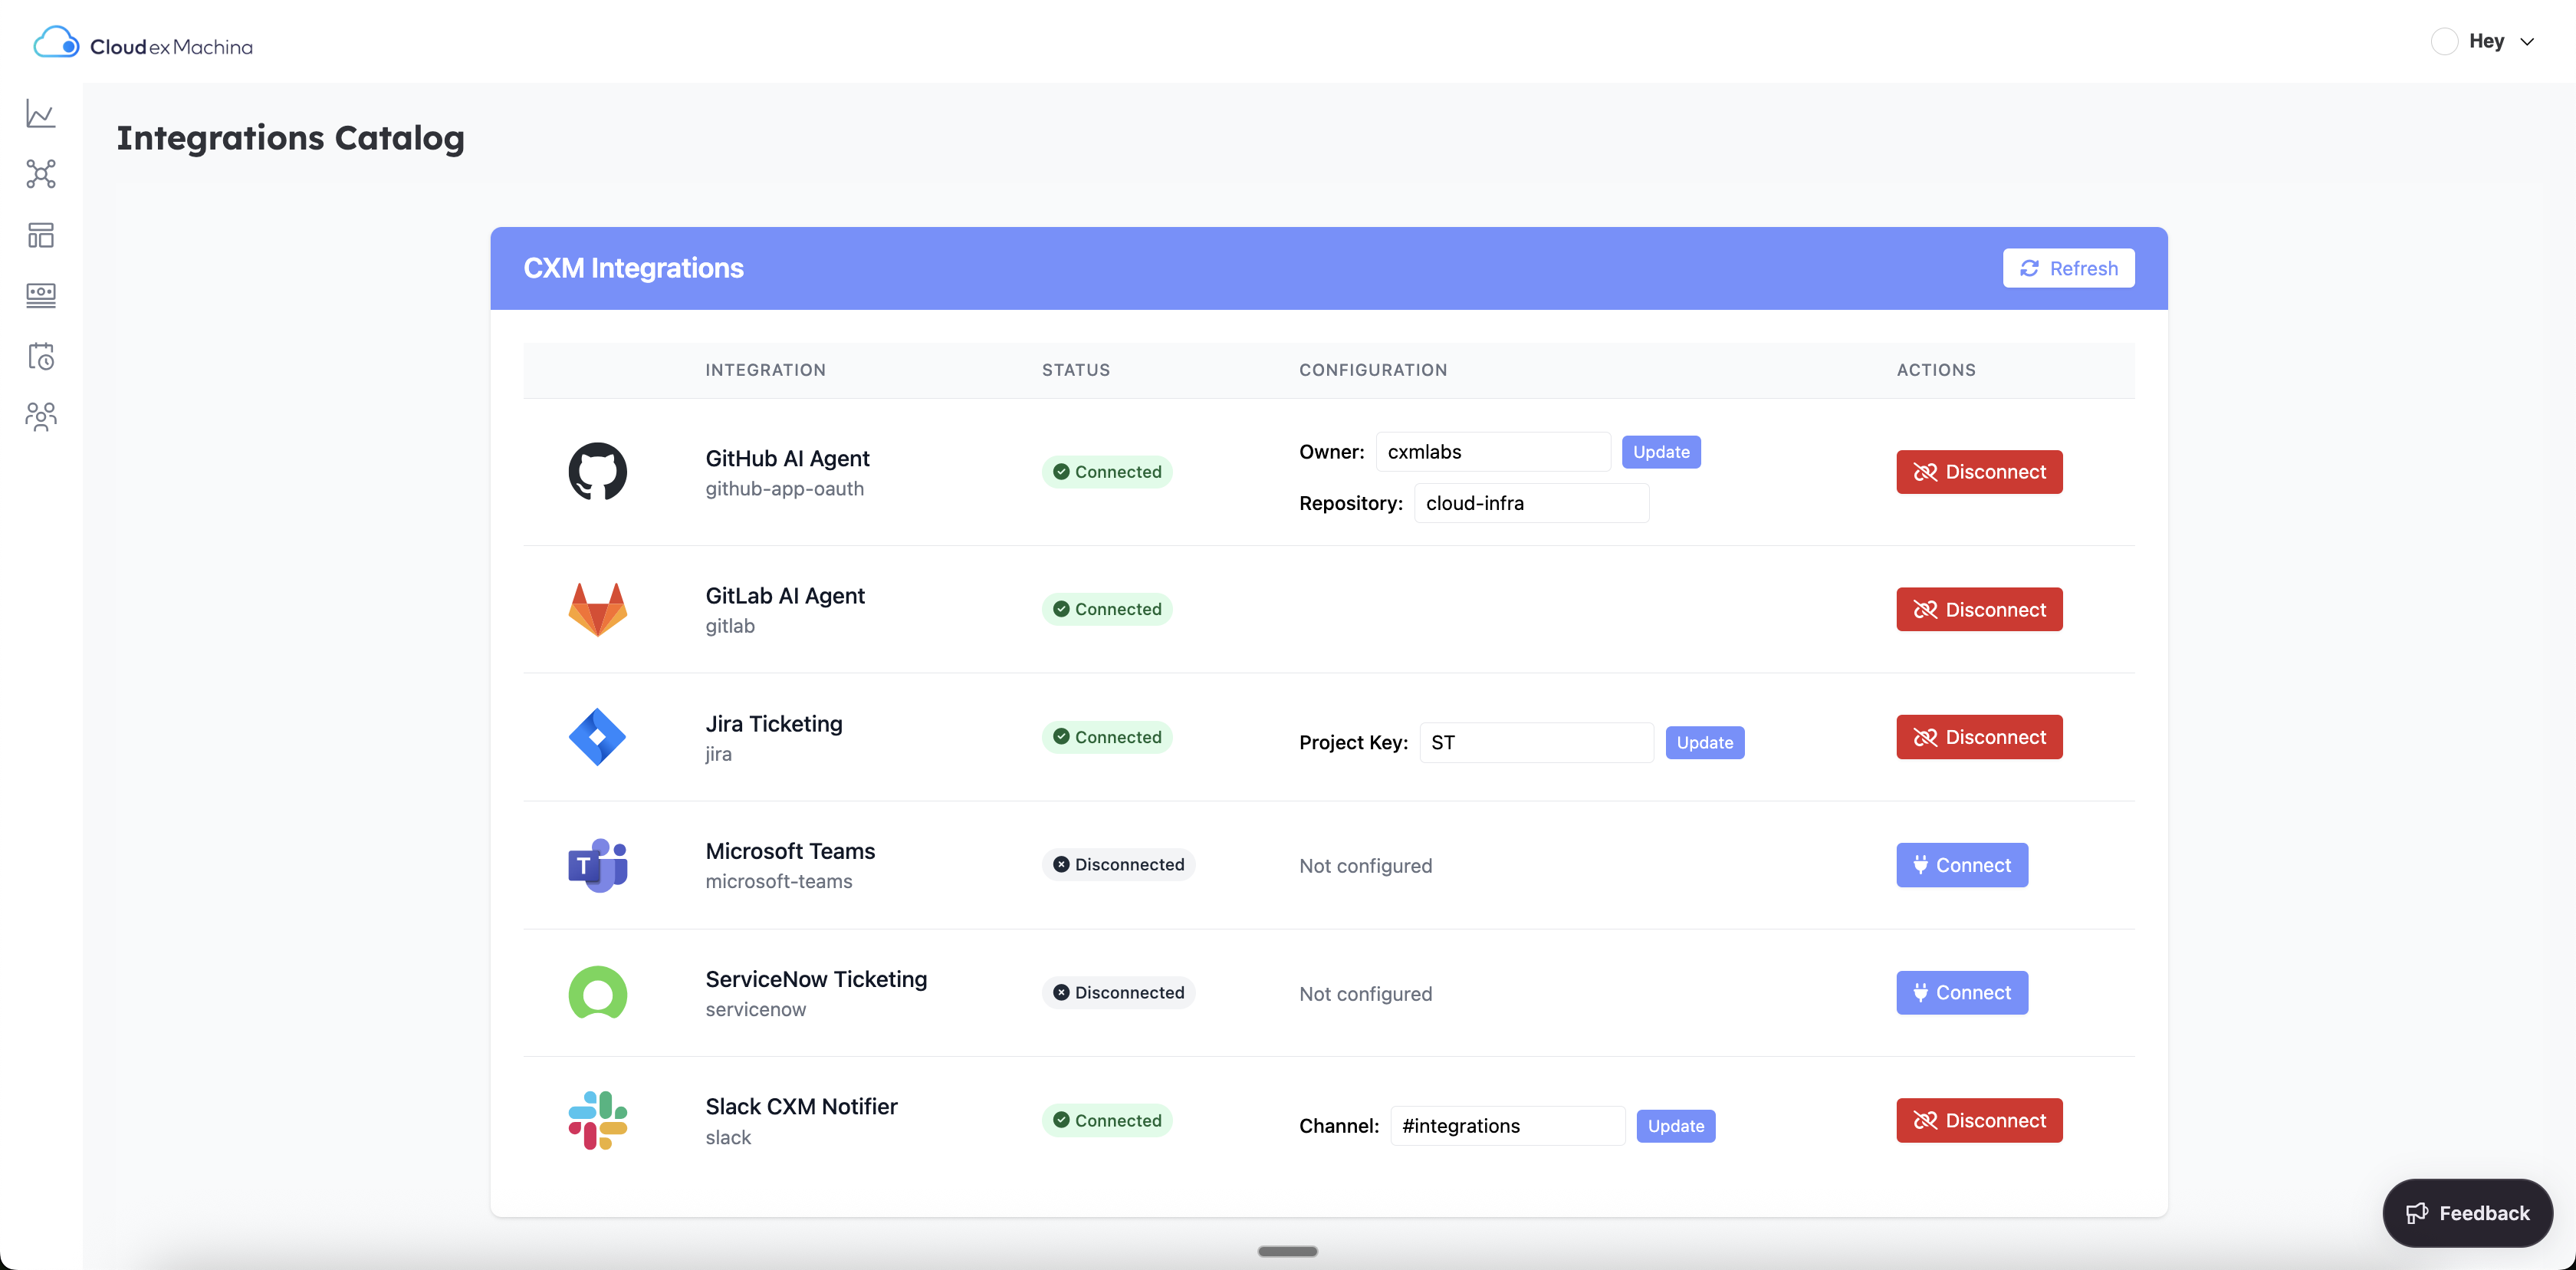
2. Connecting a Provider
- Click the Connect button next to your desired integration.
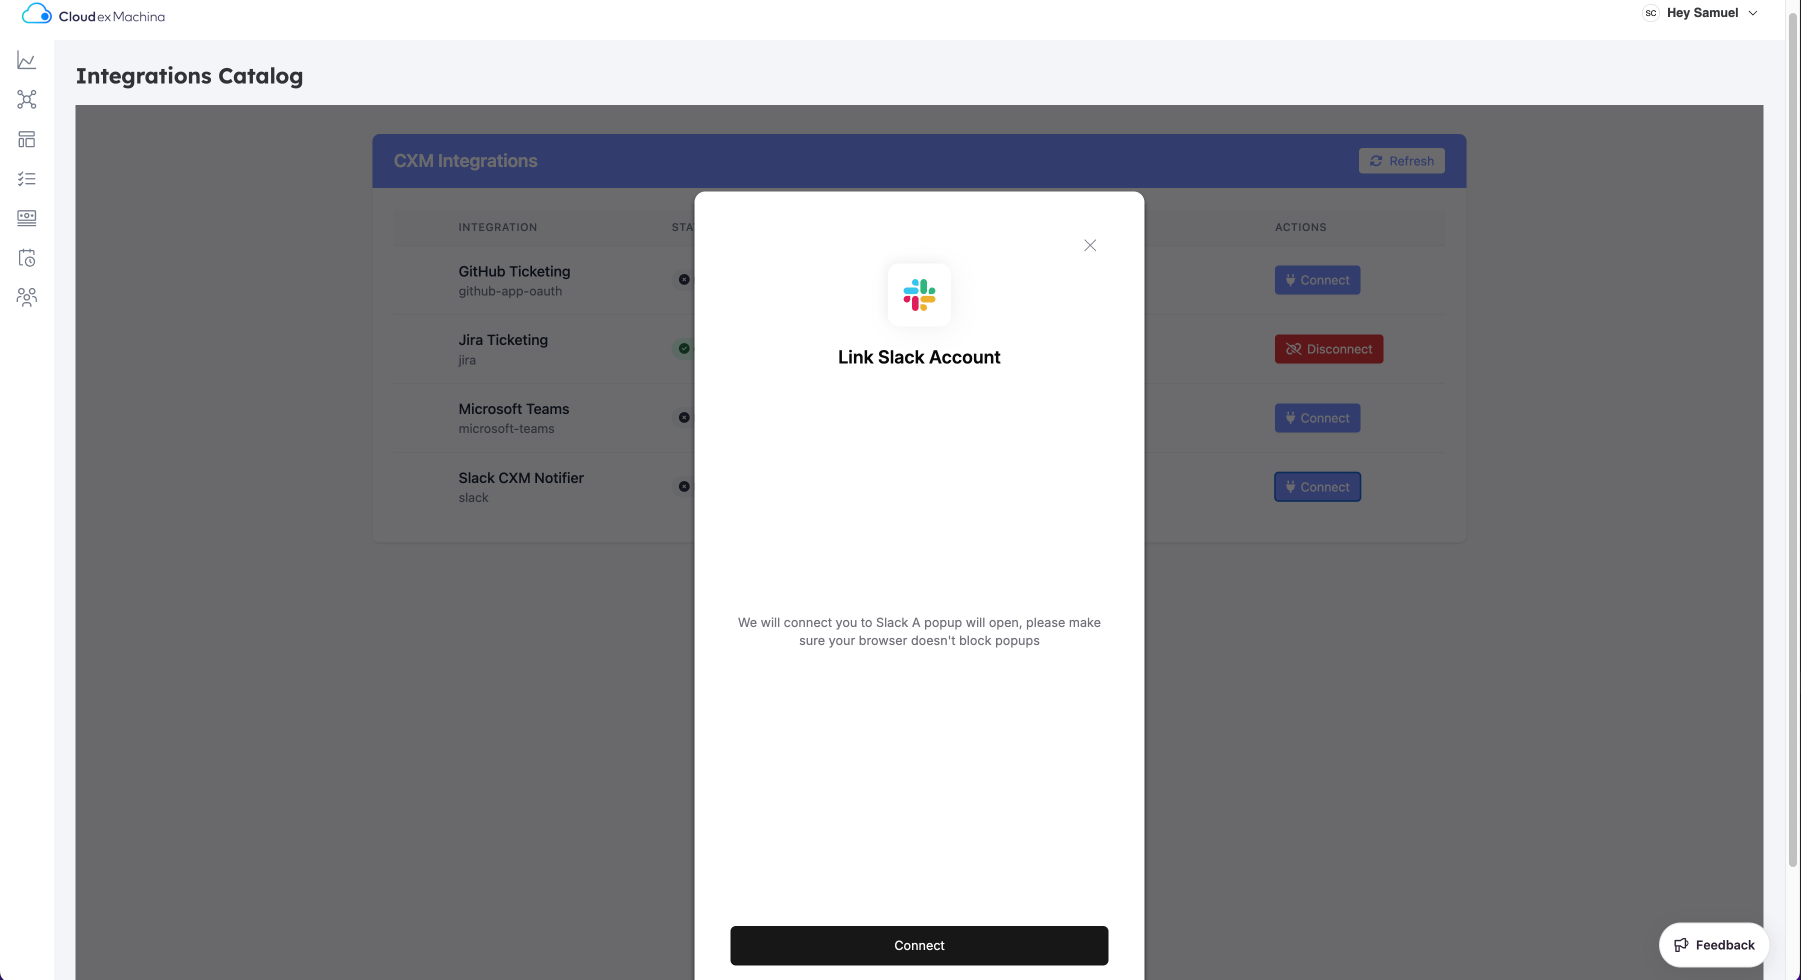
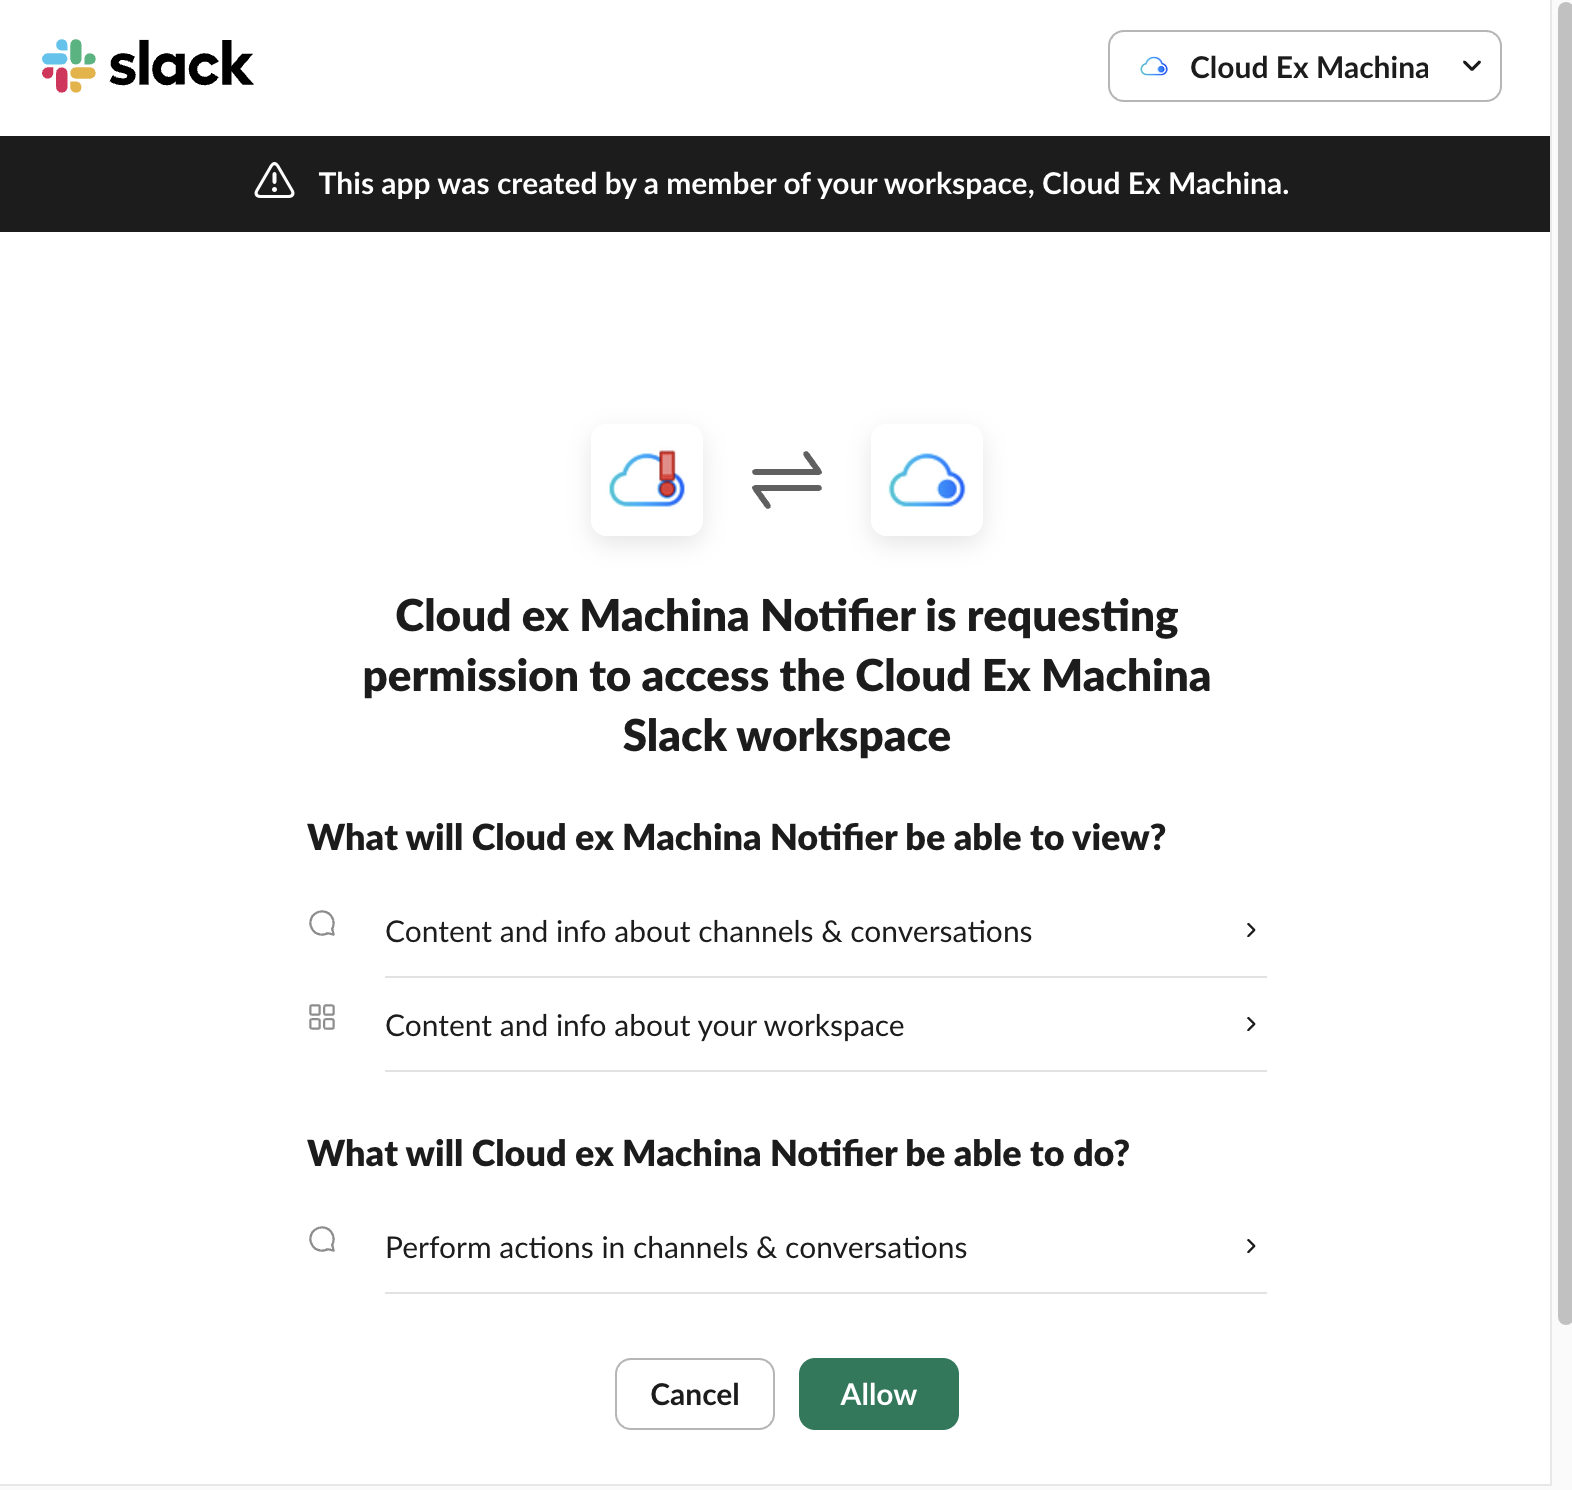
- A popup will appear prompting you to authenticate with the provider.
- Follow the authentication flow to grant Cloud ex Machina access.
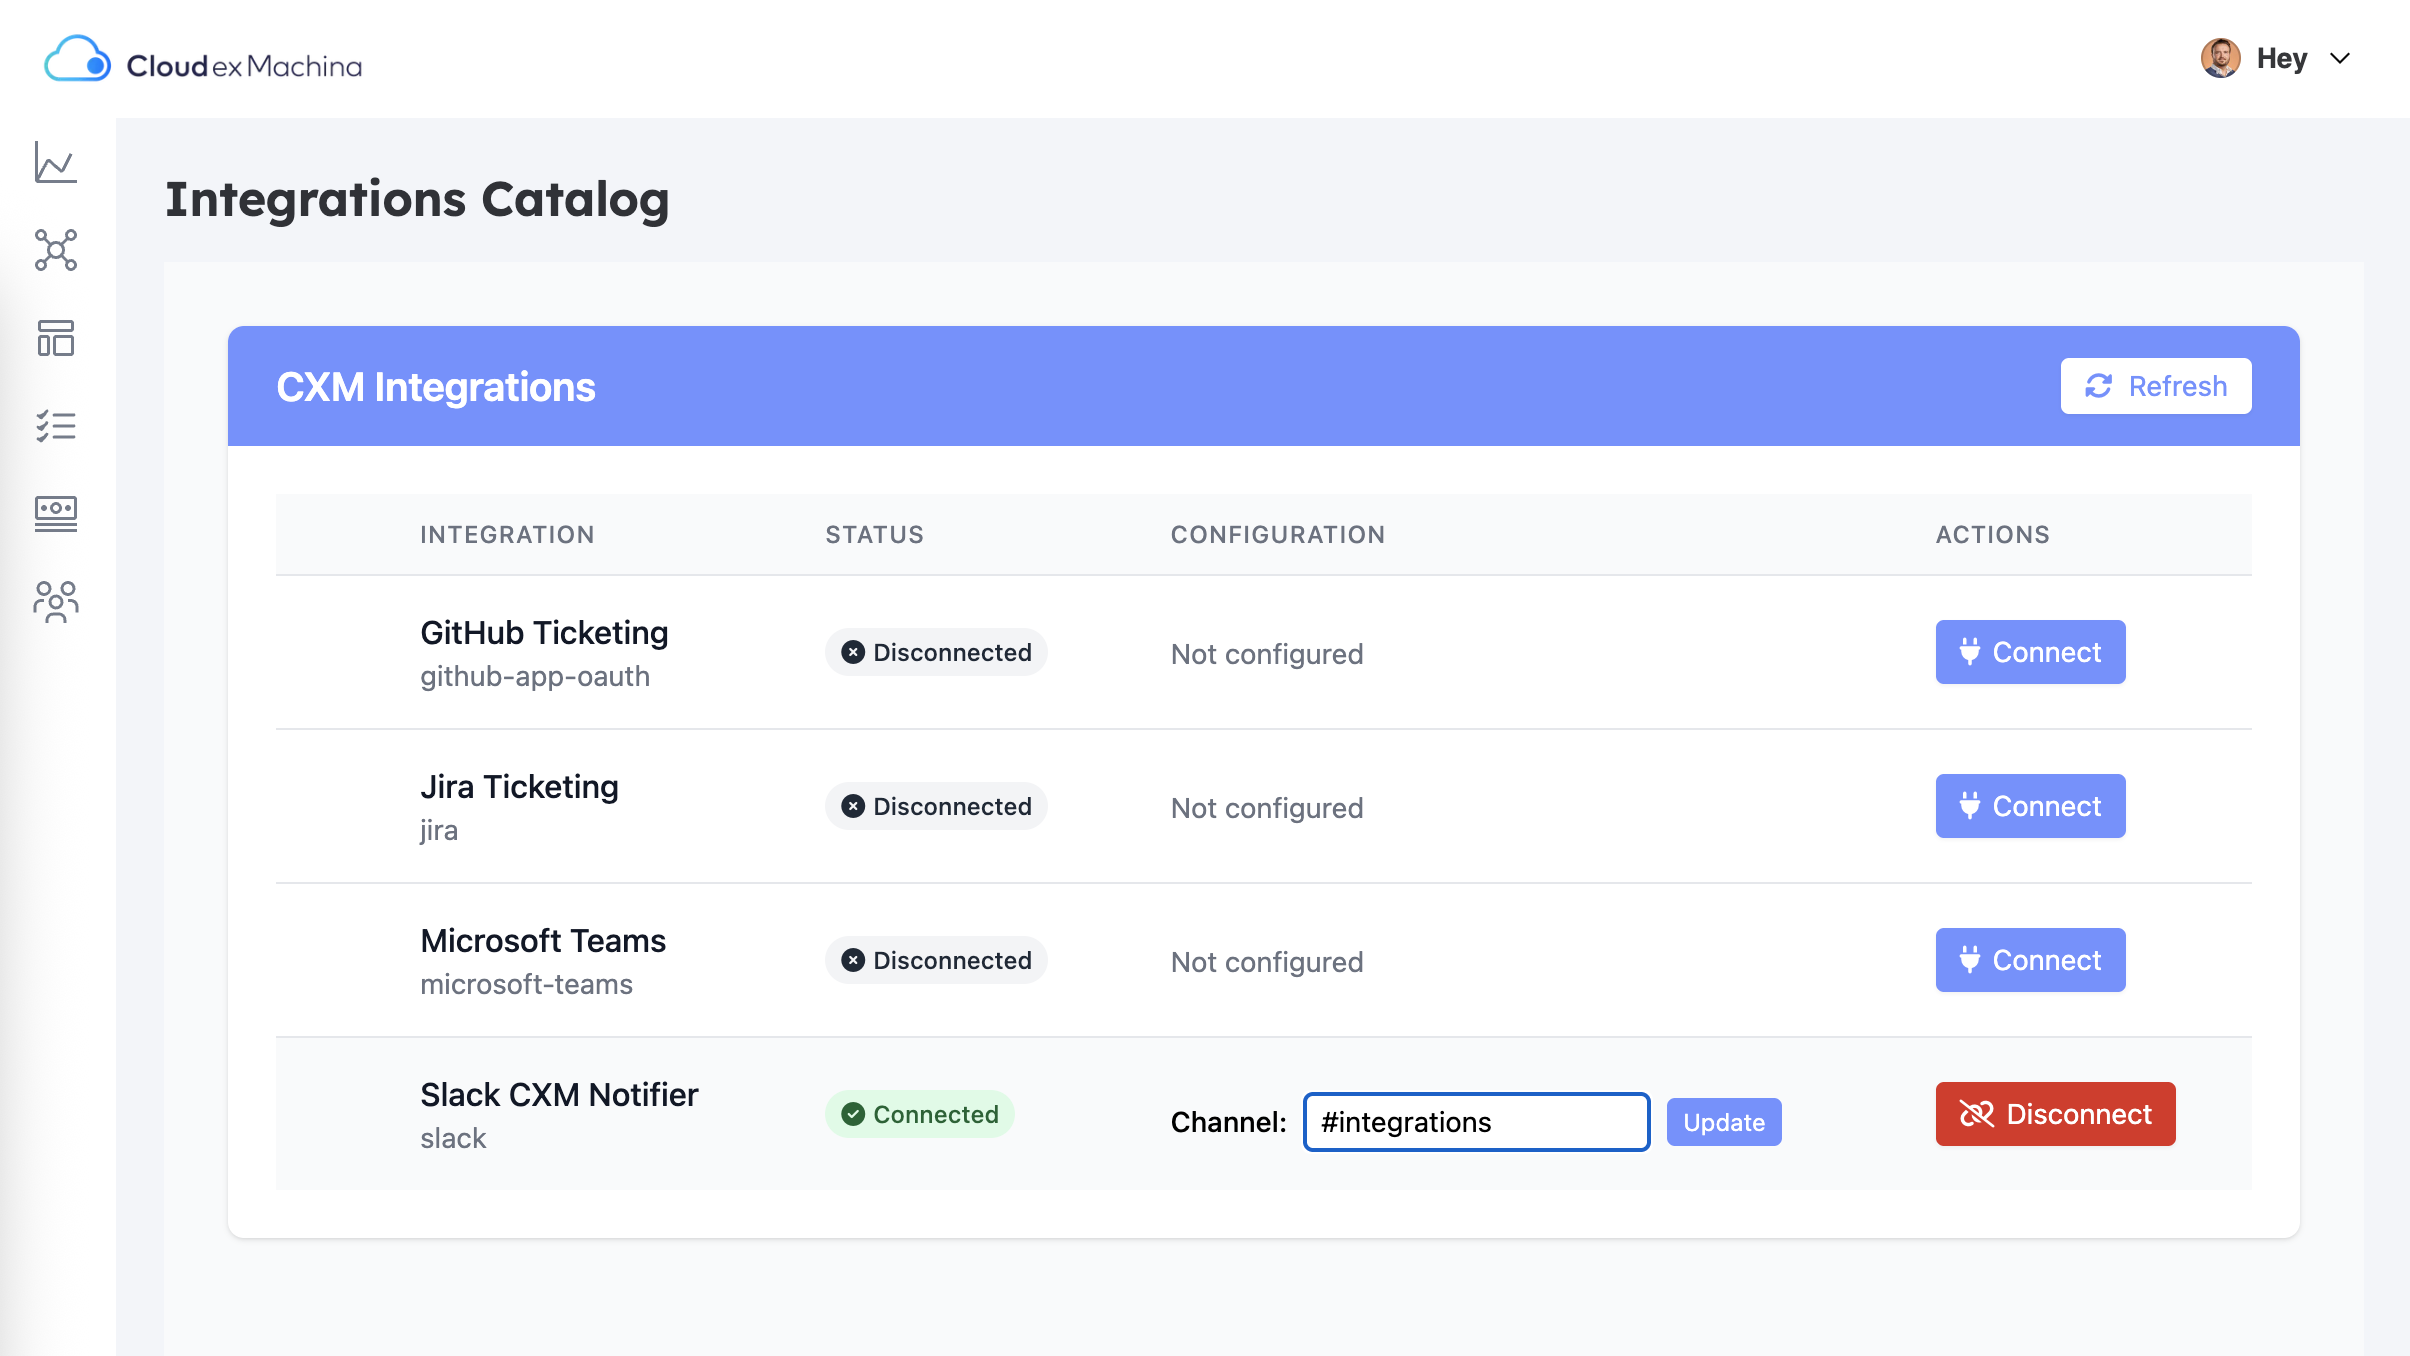
- Once connected, you'll be redirected back to the integrations page.
3. Configuring Integration Settings
- Notification Integrations (Slack / Microsoft Teams):
- Select the channels or teams where you want to receive notifications.
- Choose which types of notifications to receive.
- Ticketing Integrations (Jira / Linear / Notion / GitHub / GitLab / ServiceNow):
- Select the project, team, or repository for ticket/issue creation.
- Define ticket templates and assignment rules.
- For GitLab: Configure owner/group, repository, and API base URL for self-hosted instances.
- For Linear: Select a team and optionally a project. See Linear setup.
- For ServiceNow: Configure OAuth 2.0 Client Credentials. See ServiceNow setup.
- Code Versioning Systems Integrations (GitHub / GitLab):
- Select the repository or repositories the agent has access to.
- Cost Data Integrations (Anthropic):
- Provide API keys and billing identifiers to ingest spend data. See Anthropic setup.
Next Steps
- For more details on integration features, see Integrations Overview.
- For provider-specific setup guides, see: GitLab · ServiceNow · GitHub · Anthropic · Linear