Okta Setup
If you use Okta as your SSO, you can use it to control the access to Cloud ex Machina.
Creating the Okta CxM Application
The first step is to create the CxM app in your Okta Portal. Browse to Applications
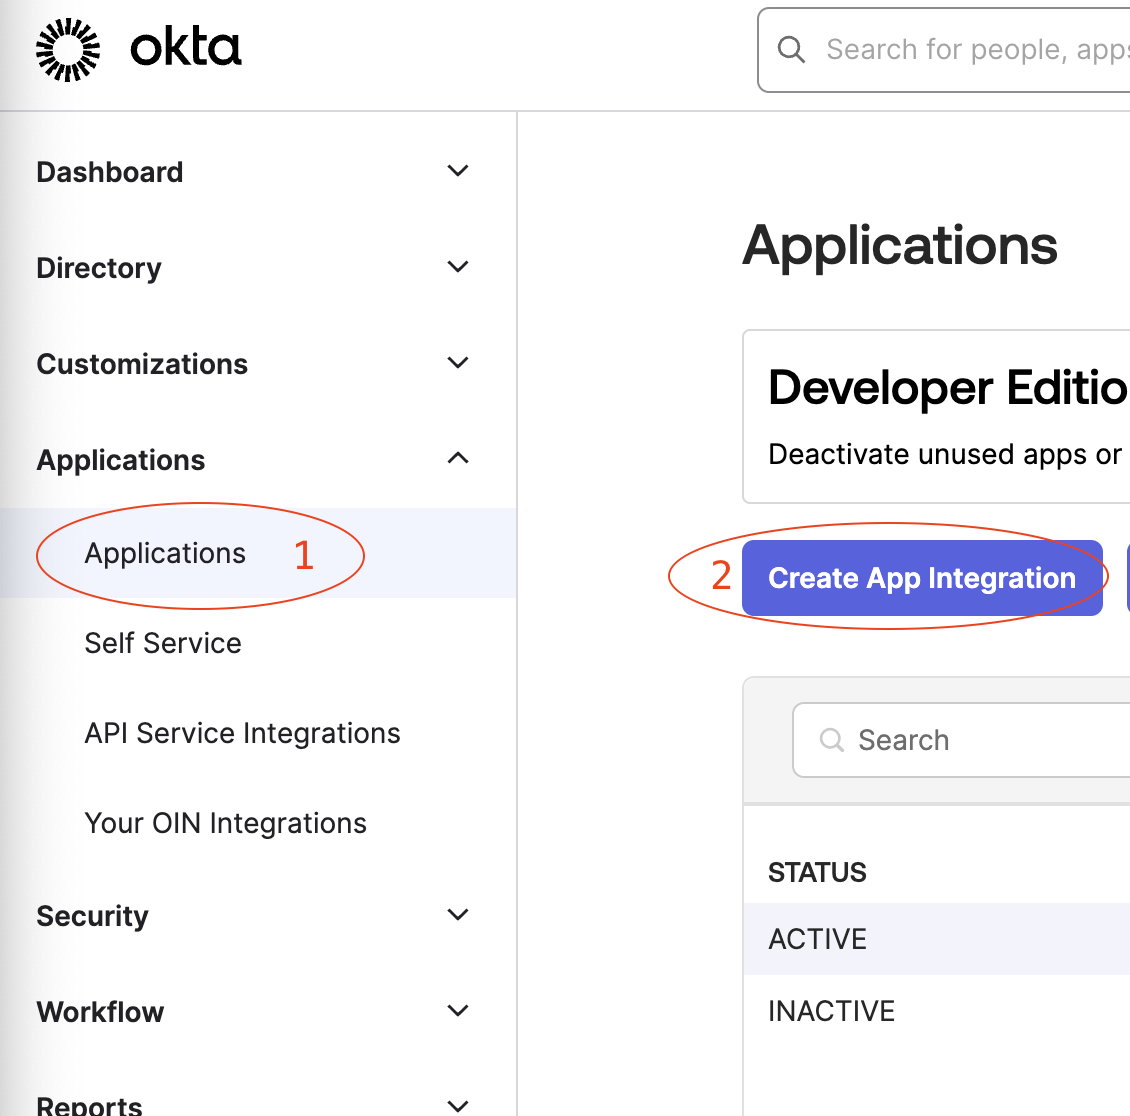
and create a new SAML 2.0 integration

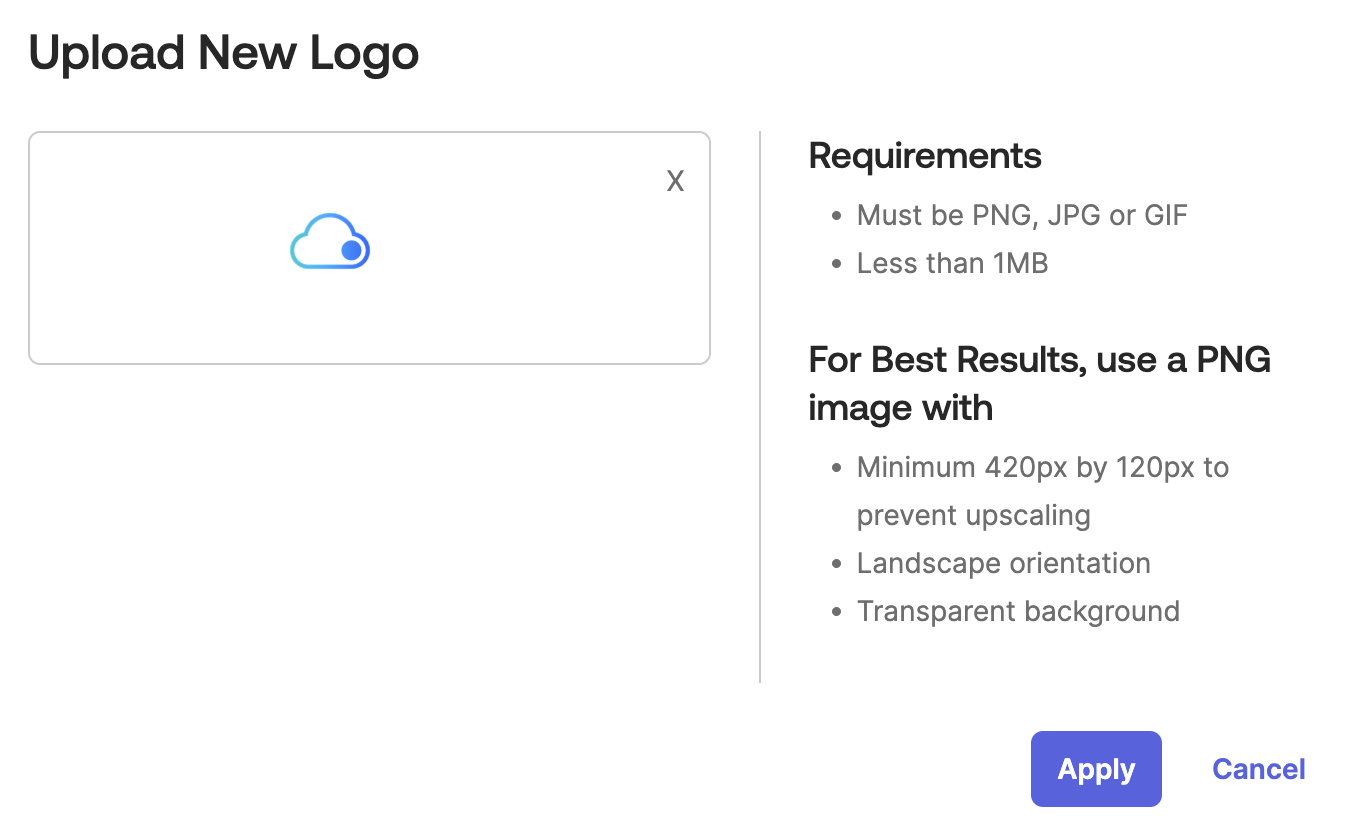
Name the new application Cloud ex Machina and use the following image as the icon:
To configure the app you will need the following attributes:
tenant_idwhich is a short name that is used to create your URL https://tenant_id.cloudexmachina.iocxm_cognito_pool_idwhich is an internal identifier for our federated user management.
You can now use the data to set up:
| Attribute | Value |
|---|---|
| Single Sign On URL | https://auth.tenant_id.cloudexmachina.io/saml2/idpresponse |
| Recipient URL | https://auth.tenant_id.cloudexmachina.io/saml2/idpresponse |
| Destination URL | https://auth.tenant_id.cloudexmachina.io/saml2/idpresponse |
| Audience URI (SP Entity ID) | urn:amazon:cognito:sp:cxm_cognito_pool_id |
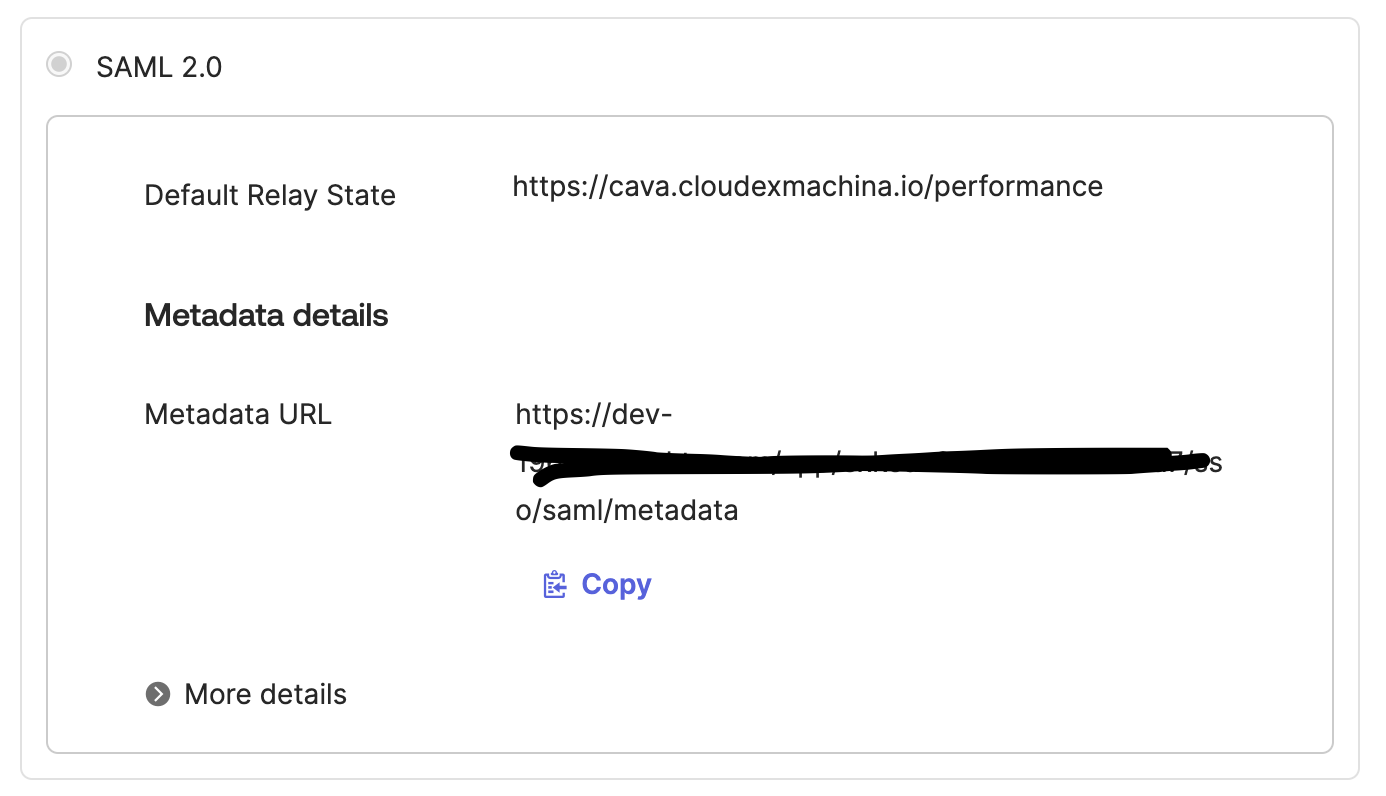
| Default Relay State | https://tenant_id.cloudexmachina.io/cloud-explorer |
| Name ID Format | Unspecified |
| Response | Signed |
| Assertion Signature | Signed |
| Signature Algorithm | RSA_SHA256 |
| Digest Algorithm | SHA256 |
| Assertion Encryption | Unencrypted |
| SAML Single Logout | Disabled |
| SAML Signed Request | Disabled |
| authnContextClassRef | PasswordProtectedTransport |
| Honor Force Authentication | Yes |
| Assertion Inline Hook | None (disabled) |
| SAML Issuer ID | http://www.okta.com/${org.externalKey} |
| Maximum app session lifetime |
Now configure the following attribute statements:
| Attribute | Name Format | Value |
|---|---|---|
| given_name | N/A | user.firstName |
| last_name | N/A | user.lastName |
| N/A | user.email |
You shall then update the Application Username Format from Okta_username to email.
Save the application, and share the Metadata URL with CxM on Slack or email. We will enable the SSO for you as fast as we can.
Keep going and add users and groups to the app to enable your personnel.
On your next login, you should see a button that points you to use your SSO to log in.